
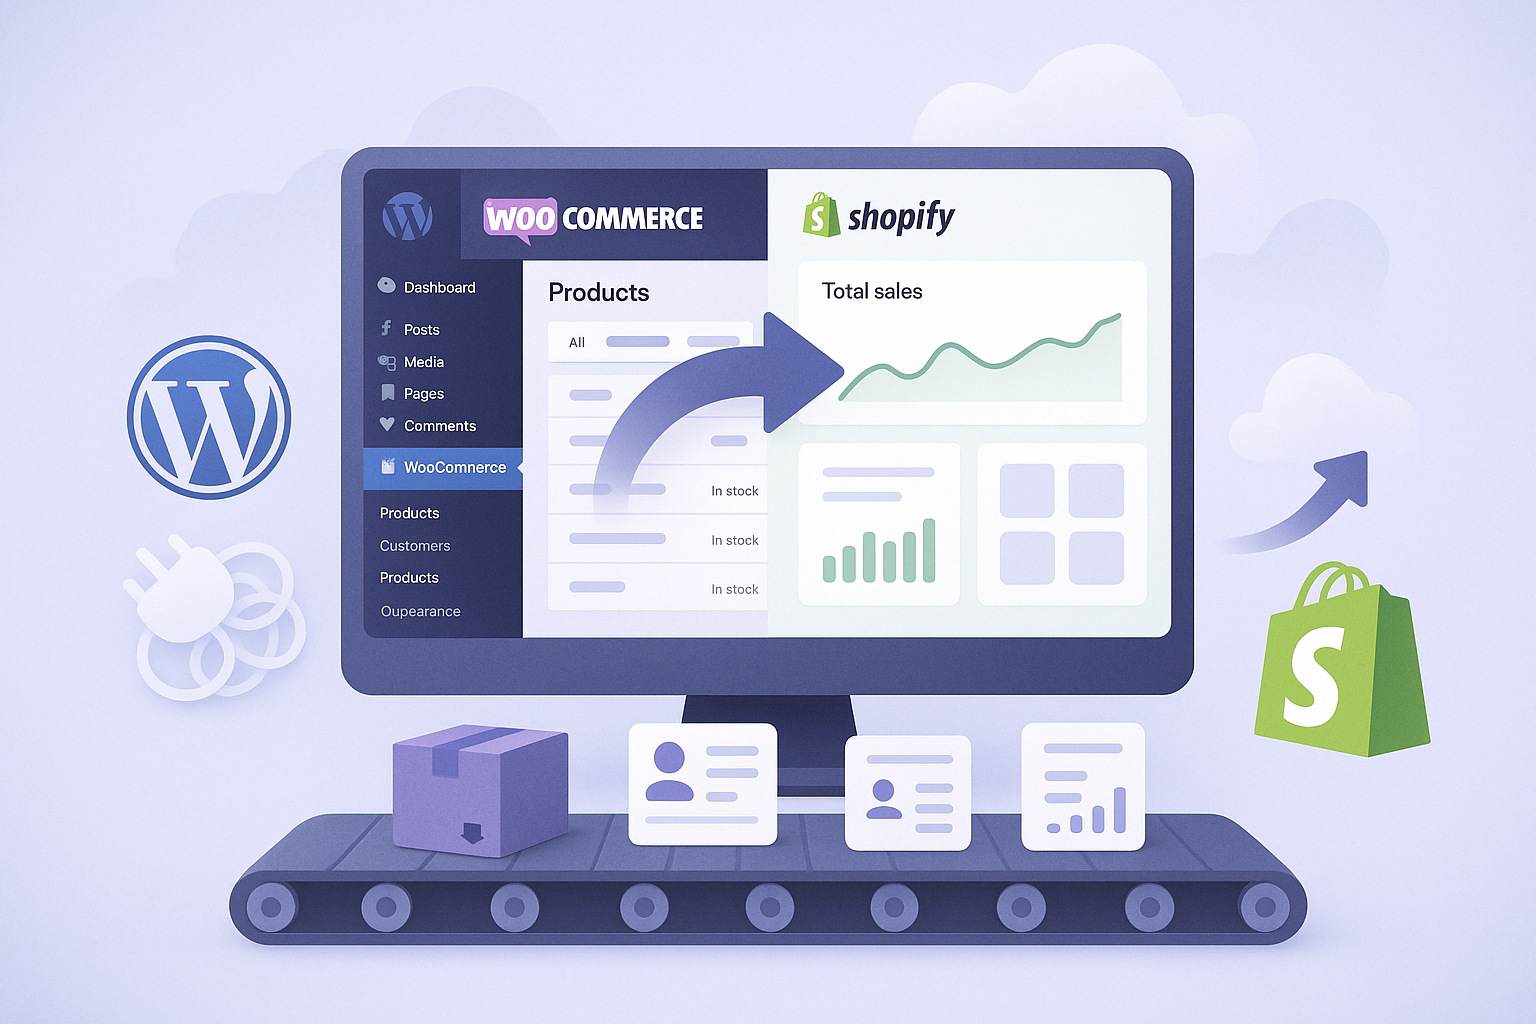
Migrating from WooCommerce to Shopify is one of the most common ecommerce platform transitions for growing brands. Whether you are dealing with plugin conflicts, hosting complexity, security maintenance overhead, or performance issues that come with managing a self-hosted WordPress/WooCommerce setup, Shopify offers a simpler, faster, and more reliable foundation for your online store. This complete WooCommerce to Shopify migration guide covers every step - from pre-migration planning and data export to SEO preservation, 301 redirects, theme rebuilding, and post-launch monitoring.
Why Merchants Migrate from WooCommerce to Shopify
WooCommerce is a powerful open-source ecommerce plugin for WordPress, but its flexibility comes with significant operational overhead. The most common reasons merchants decide to migrate from WooCommerce to Shopify include:
- Plugin conflicts and maintenance: WooCommerce stores often rely on 15-30+ plugins, and updates frequently cause compatibility issues that break store functionality
- Hosting management: WooCommerce requires separate hosting, which means managing server configurations, scaling for traffic spikes, SSL certificates, and server-level security
- Security responsibility: Self-hosted platforms put the burden of PCI compliance, malware scanning, and vulnerability patching on the merchant
- Performance issues: Plugin-heavy WooCommerce stores often suffer from slow page loads, which directly impacts conversion rates and search rankings
- Scaling challenges: As order volumes grow, WooCommerce stores may require dedicated servers, database optimisation, and caching configurations
Shopify eliminates these concerns by providing managed hosting, automatic security updates, built-in CDN, and a curated app ecosystem - allowing merchants to focus on selling rather than platform management.
Step 1: Audit Your WooCommerce Store
Before migrating anything, conduct a thorough audit of your existing WooCommerce store. Document your complete product catalog (including variants, images, descriptions, and custom fields), customer database, historical order data, active coupon and discount rules, shipping zones and rates, tax configurations, blog posts and content pages, installed plugins and their functions, and any custom code modifications.
This audit serves two purposes: it identifies what data must be migrated, and it reveals which WooCommerce plugins need Shopify equivalents. Create a spreadsheet mapping each WooCommerce plugin to its Shopify alternative - whether that is a native Shopify feature, a Shopify app, or custom development.
Step 2: Clean Your Data Before Migration
Migration is the perfect time to clean house. Remove duplicate products, archive discontinued items, fix inconsistent SKUs, standardise product attribute names (size, colour, material), merge duplicate customer records, and delete test orders. Clean data migrates faster, imports with fewer errors, and prevents carrying old problems into your new Shopify store.
Step 3: Choose Your Migration Method
There are three primary approaches to migrating from WooCommerce to Shopify:
Manual Migration
Export data from WooCommerce as CSV files and import them into Shopify using the built-in import tools. This works for small stores with simple product catalogs but becomes impractical for stores with thousands of products, complex variants, or large customer databases.
Migration Apps
Apps like Cart2Cart, LitExtension, and Matrixify automate the data transfer process. They can migrate products, customers, orders, blog posts, and other data with minimal manual intervention. These tools are good for mid-sized stores but may not handle custom fields or complex product relationships perfectly.
Professional Migration Services
For stores with complex requirements - custom product types, subscription products, membership systems, or heavy customisation - professional Shopify migration services provide the most reliable path. A migration partner handles data mapping, custom field preservation, URL redirects, theme development, and post-launch testing.
Step 4: Export Your WooCommerce Data
At minimum, export the following data from WooCommerce:
- Products: Titles, descriptions, images, prices, SKUs, variants, categories, tags, and custom fields
- Customers: Names, email addresses, shipping addresses, and order history
- Orders: Historical order data for customer service reference and reporting
- Blog posts: Content, images, categories, tags, and publish dates
- Pages: About, contact, FAQ, and other static content pages
- Coupons: Active discount codes and their rules
Always create a complete database backup of your WooCommerce site before beginning the migration process. Keep the WooCommerce store running in parallel until the Shopify store is fully tested and ready to go live.
Step 5: Set Up Your Shopify Store
Before importing data, configure the foundational elements of your Shopify store: general settings (store name, address, currency), payment gateway (Shopify Payments or your preferred provider), shipping zones and rates (recreated from WooCommerce settings), tax settings (automatic tax calculation or manual rules), email notification templates, and checkout settings.
Step 6: Import Data to Shopify
Import your data in this order: products first (including images, variants, and collections), then customers, then historical orders. Verify each import batch before proceeding to the next. Check that product images transferred correctly, variant options display properly, prices and inventory quantities are accurate, and customer email addresses imported without duplicates.
Step 7: Rebuild Your Storefront Theme
WooCommerce themes do not transfer to Shopify. You have three options: choose and customise a premium Shopify theme from the Theme Store, build a custom Shopify theme using Online Store 2.0 architecture, or hire a development partner for a fully bespoke build. Treat this as a redesign opportunity - improve navigation, optimise collection structure, enhance mobile UX, and improve page speed. Our Shopify theme development services handle both custom and premium theme builds.
Step 8: Preserve SEO Equity - Critical
SEO preservation is the most important and most frequently mishandled part of any ecommerce migration. A poorly executed migration can destroy years of search ranking equity overnight. Here is how to protect your rankings:
URL Mapping and 301 Redirects
WooCommerce and Shopify use different URL structures. For example, WooCommerce might use /product/blue-widget while Shopify uses /products/blue-widget. Create a complete URL mapping spreadsheet covering every product, collection, blog post, and page. Then implement 301 redirects in Shopify (Settings → Navigation → URL Redirects) to point every old URL to its new Shopify equivalent. This tells search engines the content has permanently moved and transfers link equity to the new URLs.
Preserve Meta Titles and Descriptions
Export all page titles, meta descriptions, and heading tags from WooCommerce and apply them to the corresponding Shopify pages. Do not let Shopify auto-generate these - the AI-generated defaults are rarely as well-optimised as your existing metadata.
Maintain Content Structure
Keep the same heading hierarchy (H1, H2, H3), similar content structure, and equivalent internal linking patterns. Search engines have associated specific content patterns with your rankings - changing them dramatically can cause temporary ranking drops.
Submit Updated Sitemap
After migration, submit your new Shopify sitemap to Google Search Console. Monitor the Coverage report for crawl errors, 404s, and redirect issues during the first 2-4 weeks.
Step 9: Recreate Essential Functionality
Review your WooCommerce plugin list and set up equivalent functionality in Shopify. Common replacements include email marketing (Klaviyo, Mailchimp), reviews (Judge.me, Loox), subscriptions (Recharge, Seal Subscriptions), SEO tools (native Shopify SEO or plug-in solutions), analytics (Google Analytics 4, Shopify Analytics), and shipping (Shopify Shipping, ShipStation). Not every WooCommerce plugin needs a direct replacement - Shopify handles many functions natively that required plugins on WooCommerce.
Step 10: Test Everything Before Go-Live
Run a comprehensive pre-launch checklist: place test orders with real payment methods, verify shipping rate calculations for all zones, test discount codes and automatic discounts, check email notifications (order confirmation, shipping, refund), verify mobile responsiveness across devices, test search functionality and filtering, confirm analytics and conversion tracking fire correctly, and verify 301 redirects work for all mapped URLs.
Step 11: Plan the Go-Live Window
Choose a low-traffic period for the domain switchover. Freeze catalog changes in WooCommerce during the final migration window, perform a delta sync for any orders or customers created since the initial export, point your domain to Shopify, verify SSL certificates are active, and re-check all redirects and critical pages immediately after launch.
Step 12: Post-Migration Monitoring
The first 2-4 weeks after migration are critical. Monitor Google Search Console daily for crawl errors and 404s, watch organic traffic and rankings for any drops, check conversion rates against pre-migration benchmarks, verify all payment processing is working correctly, and address any customer-reported issues immediately. Some temporary ranking fluctuation is normal during a migration - Google needs time to recrawl and reindex your content at the new URLs.
Common WooCommerce to Shopify Migration Mistakes
- Skipping 301 redirects: The single most damaging mistake - causes immediate loss of search rankings and broken bookmarks
- Migrating during peak season: Never migrate during Black Friday, holiday periods, or major promotional events
- Not testing payments: Always place real test orders with actual payment methods before going live
- Ignoring customer communications: Notify existing customers about the migration, especially if account login processes change
- Rushing the timeline: Allow adequate time for testing - a failed migration costs far more than a delayed one
Need professional help with your WooCommerce to Shopify migration? DigiXoft is a certified Shopify Partner with extensive migration experience. Our Shopify migration services handle the complete process - data export, URL mapping, SEO preservation, theme development, and post-launch support. We also provide ongoing Shopify maintenance after migration to ensure long-term success.
Frequently Asked Questions
How long does a WooCommerce to Shopify migration take?
A simple store migration (under 500 products) can be completed in 1-2 weeks. More complex migrations involving thousands of products, custom functionality, and extensive SEO work typically take 4-8 weeks. The timeline depends on data volume, customisation requirements, and how much theme development is needed.
Will I lose my Google rankings when migrating from WooCommerce to Shopify?
Not if the migration is handled correctly. Proper 301 redirects, metadata preservation, and content structure maintenance protect your search rankings. Some temporary fluctuation is normal as Google recrawls your site, but rankings should stabilise within 2-4 weeks. Skipping redirects or changing URL structures without mapping is what causes ranking losses.
Can I migrate my WooCommerce customers to Shopify?
Yes. Customer names, email addresses, shipping addresses, and order history can all be migrated to Shopify. However, customer passwords cannot be transferred between platforms - customers will need to reset their passwords on the new Shopify store. Shopify provides tools to send password reset invitations to migrated customers.
How much does WooCommerce to Shopify migration cost?
Costs vary significantly based on complexity. DIY migration using apps like Cart2Cart typically costs $100-500. Professional migration services range from $2,000-15,000+ depending on product count, customisation needs, SEO requirements, and theme development scope. The investment protects against data loss, SEO damage, and downtime that can cost far more than the migration itself.